


Hello, world!
In this series of Flutter, previously we have seen how to set up Flutter and IDE in your environment. You can see that over this link.
Make sure you have everything installed in your environment and to do that if needed revisit the previous blog.
In this blog, will create a new Flutter application from the template and try to make it run on our device. Also, with this, we will experience a hot reload for faster app development.
Start Android Studio
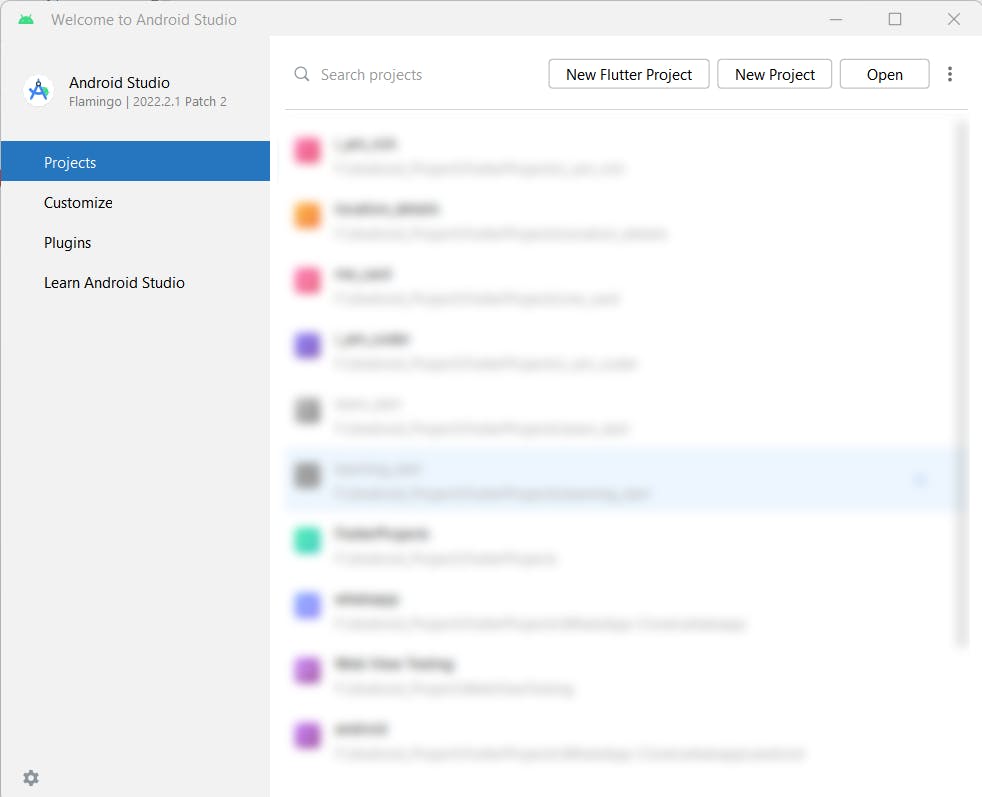
Once, you start Android Studio (development IDE) you can see a nearly similar screen (based on version),
Select New Flutter Project
Now, select the new Flutter project and add some details like project name, language, build system, project type, platforms, root folder and project file location etc.
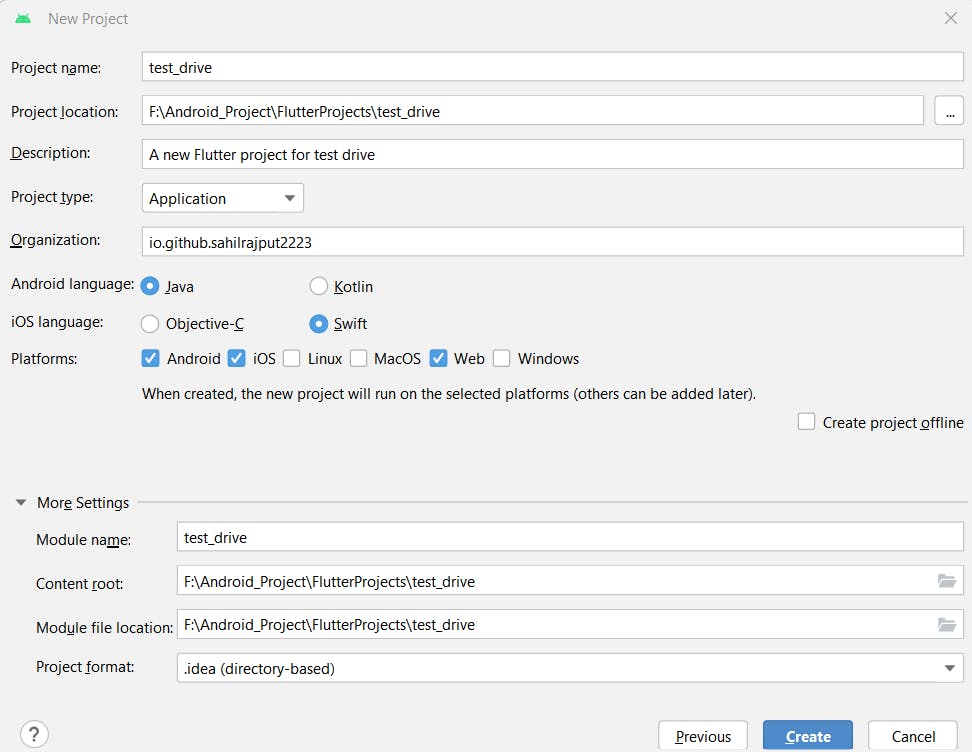
Once everything is done press create to create a project.
Now, let's wait till Android Studio create our Flutter project and do a complete setup for the same.
Run the App
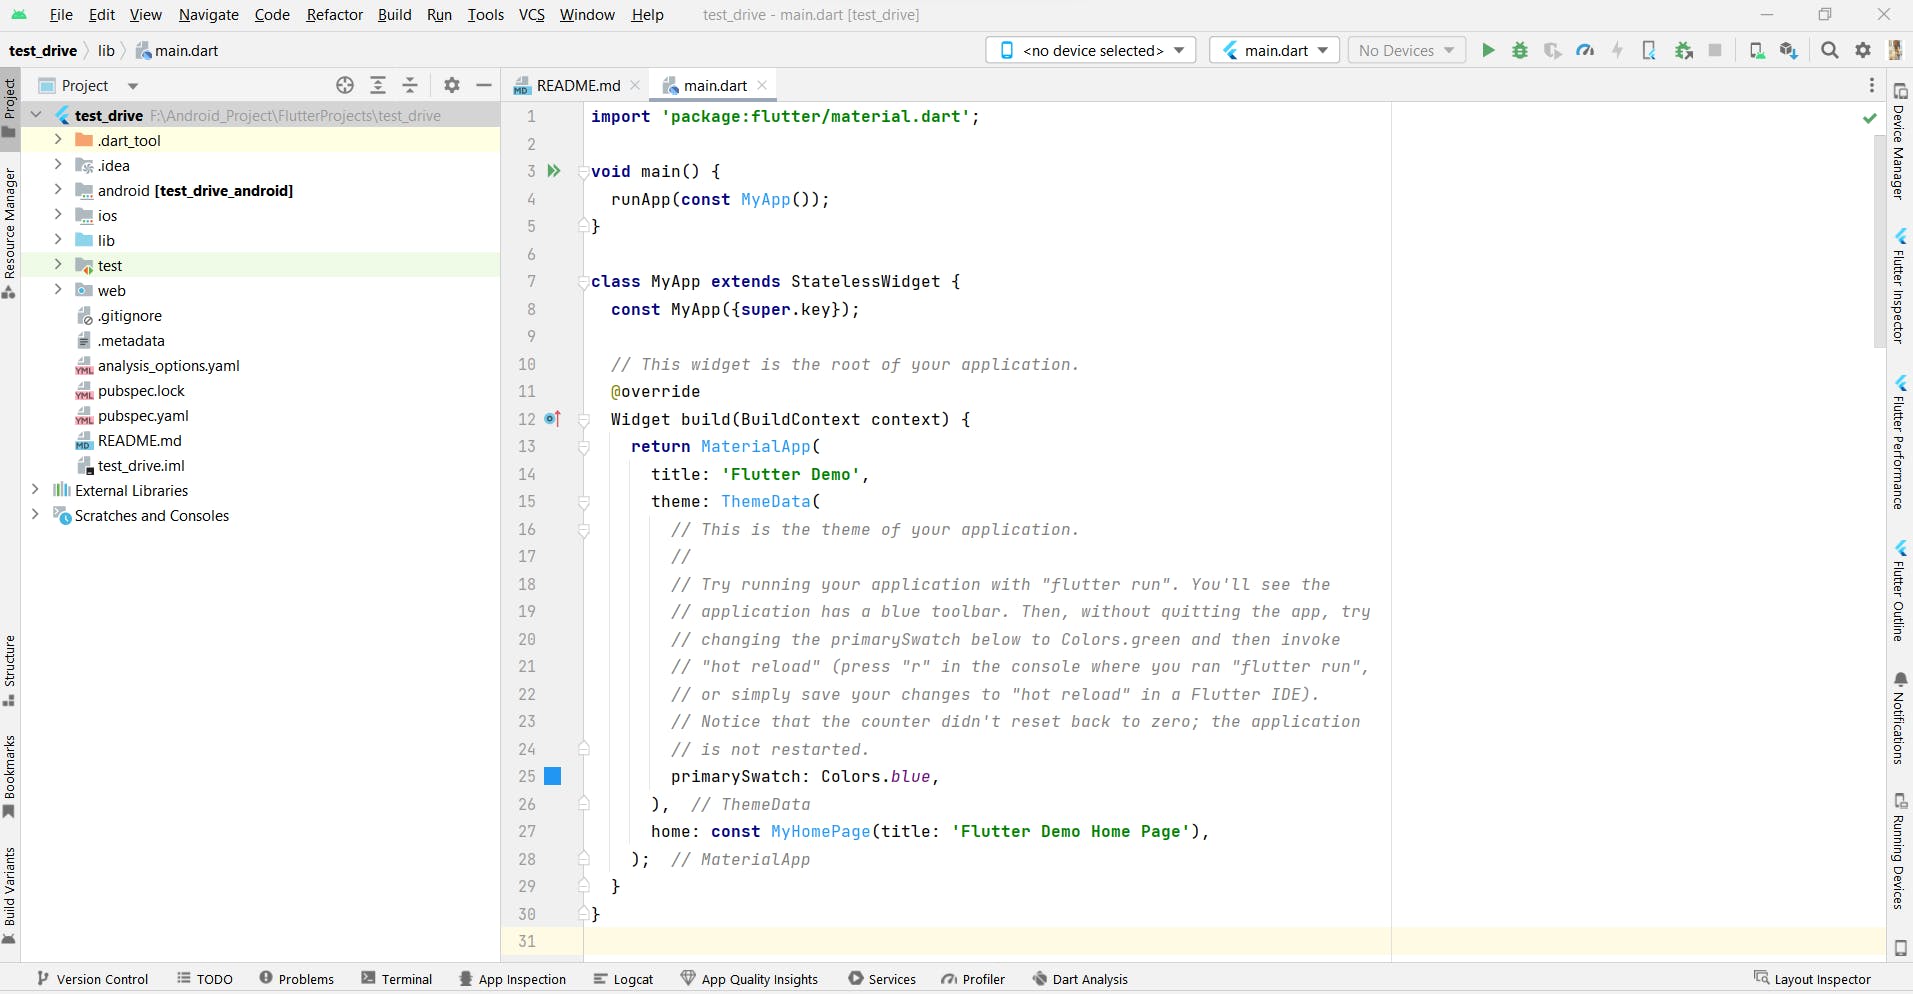
Once Android Studio created our project you can see below mentioned screen,
Now, we can run our test-drive application on our device. To do that,
Locate the main Android Studio toolbar:

Here, you can see your attached physical device or you can create a virtual device from Tools > Device Manager.
If the physical device is connected, you can see the below screen,

Now, you can run main.dart file to see if our first Flutter testing app is running on a device or not.

You can see in the Android Studio console that the app is running and syncing files to the device.
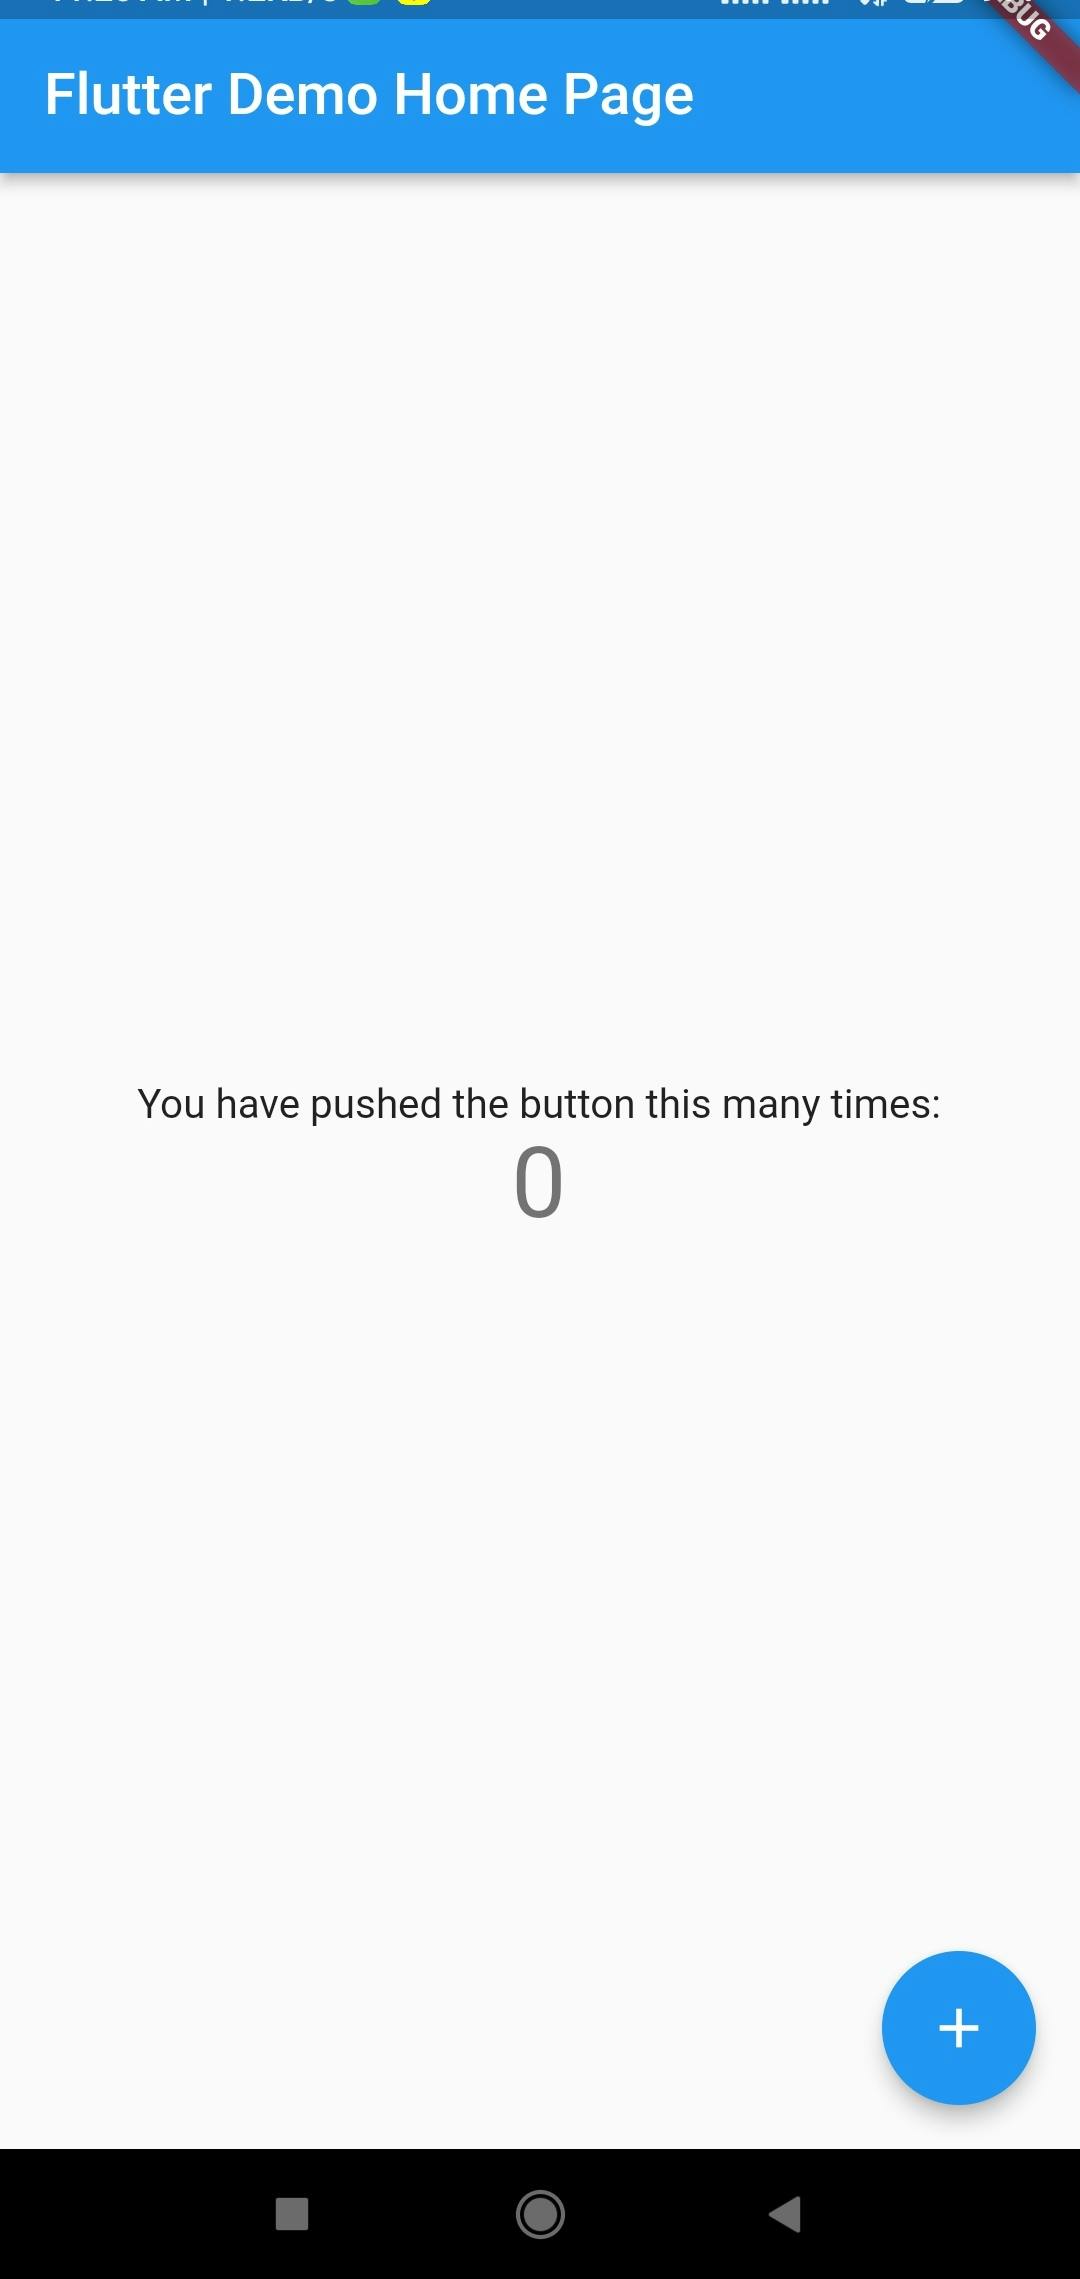
and, in the device, you can see that our app (with sample code) is running,
Great. Now, you have tested that your environment is working fine and ready to start further learning Flutter.
Try hot reload
With Flutter, we can do faster development with Hot Reload.
Hot Reload is, the code of a live running app without restarting or losing the app state
Open
lib/main.dart.Change the String,
Flutter Demo Home Pageto,
Flutter - Test DriveNow, Save your changes/trigger Save All, or click Hot Reload
You’ll see the updated string in the running app with immediate effect.
Inorder to use Hot Reload, make sure your app is running all the time.
Conclusion
Congratulations! You have successfully created and run testing Flutter app on your environment.
Happy coding and thank you for reading, I hope you found this article useful.
If you enjoyed reading, please consider following me here on Hashnode and also you can reach me on Twitter / GitHub / LinkedIn.