


Hello World!
In this blog post, we'll explore how to connect Python with MongoDB, a popular NoSQL database. Python provides several libraries to work with MongoDB. One of the most commonly used ones is PyMongo.
Things we are going to use
What is MongoDB?
MongoDB is a non-relational document database that provides support for JSON-like storage and has a flexible data model that enables you to store unstructured data, and it provides full indexing support, and replication with rich and intuitive APIs which makes it easy to handle dynamic schemas.
Let's Get Started with Development
To connect Python with MongoDB and perform queries, we'll need to follow a few steps.
Step 1: Install PyMongo
PyMongo is te official Python driver for MongoDB. To install it, we can use pip (Python Package Manager) with the following command,
Step 2: Import the PyMongo Library
Now, once our library is successfully installed we can import it into our Python script:
Step 3: Establish a Connection
To establish the connection with MongoDB, we first need to create a MongoClient object and specify the MongoDB server's address.
By default, MongoDB runs on localhost and 27017 port. So, the default MongoDB server address is mongodb://localhost:27017/.
If your MongoDB is running on a different host or port, make sure you update the connection URL accordingly.

Step 4: Access a Database
Great, now that we have made a successful connection with MongoDB server, we can connect the database with get_database() method and pass the database name as a parameter of MongoClient.
If the specified database doesn't exist, MongoDB will create it for us.
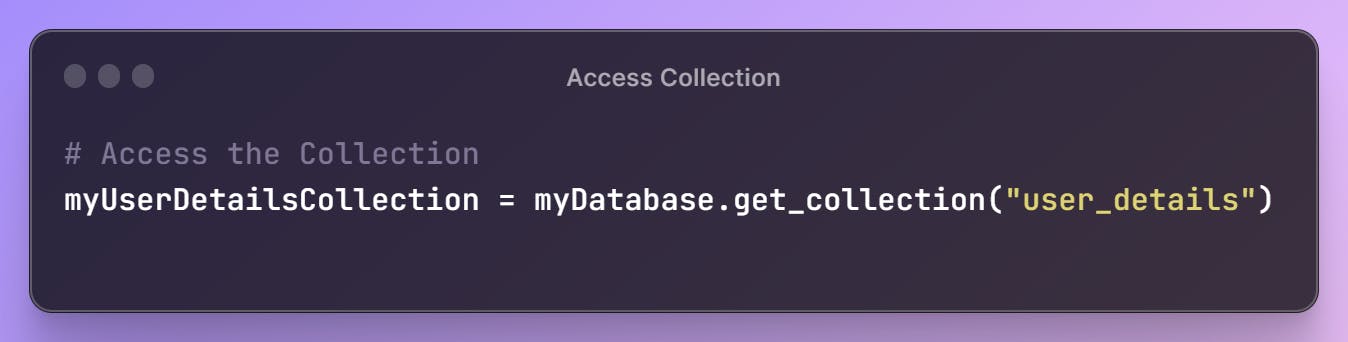
Step 5: Access a Collection
In MongoDB, data is going to stored in collections.
To access a collection, we can use the database object's get_collection() method and provide the collection name as a parameter.
If the specified collection doesn't exist, MongoDB will create it when we insert data.
Step 6: Perform Database Operations
Now, we have made a successful connection with the collection, we can perform queries on it.
Insert Single Record
To insert a single record in the collection we need to use
insert_one()method on the collection.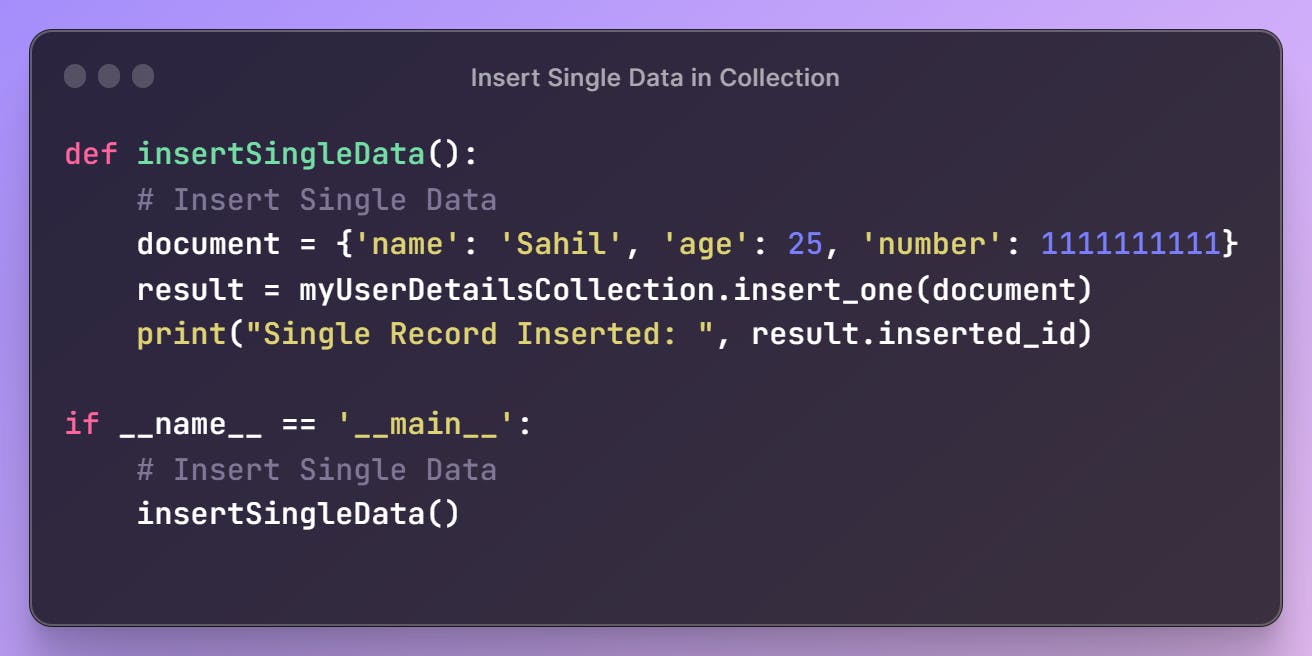
Once, data is successfully inserted, we can see
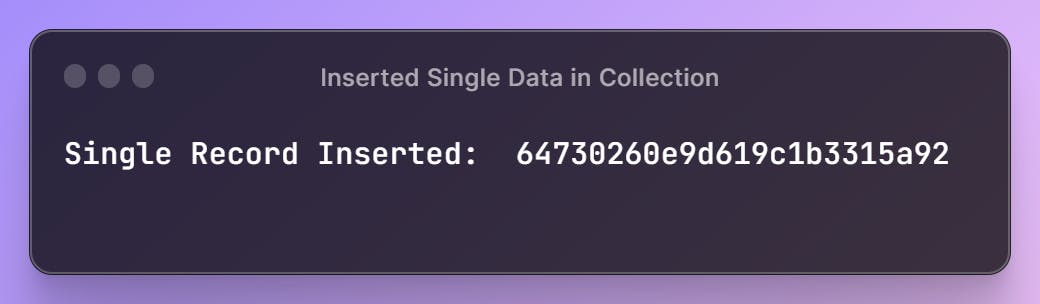
Also, we can verify these details in our MongoDB server. To view the MongoDB database and collection, we can use the
MongoDB Compasstool.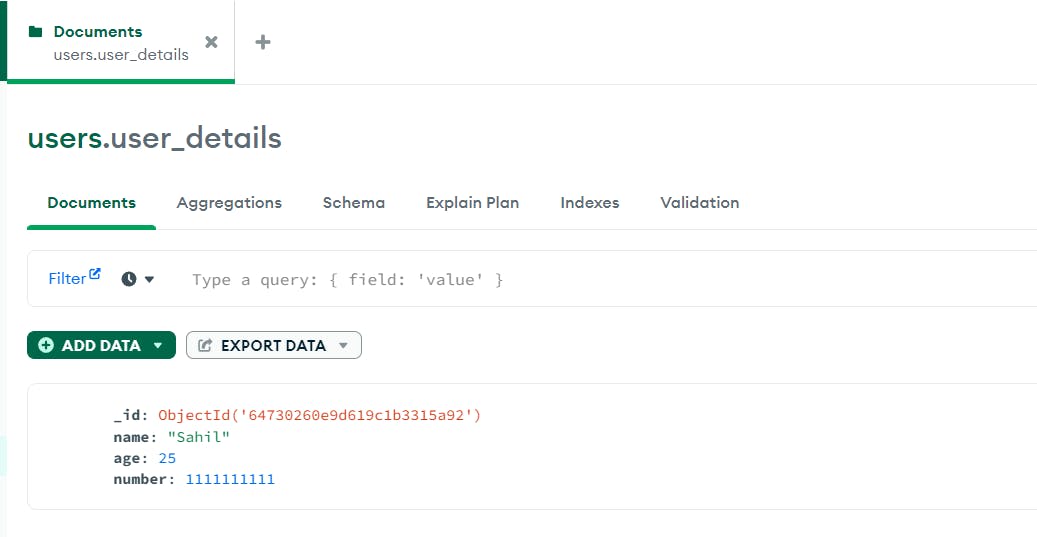
As you can see in the above image,
single data is insertedin the database.Insert Multiple Record
To insert multiple records in the collection we need to use
insert_many()method on the collection.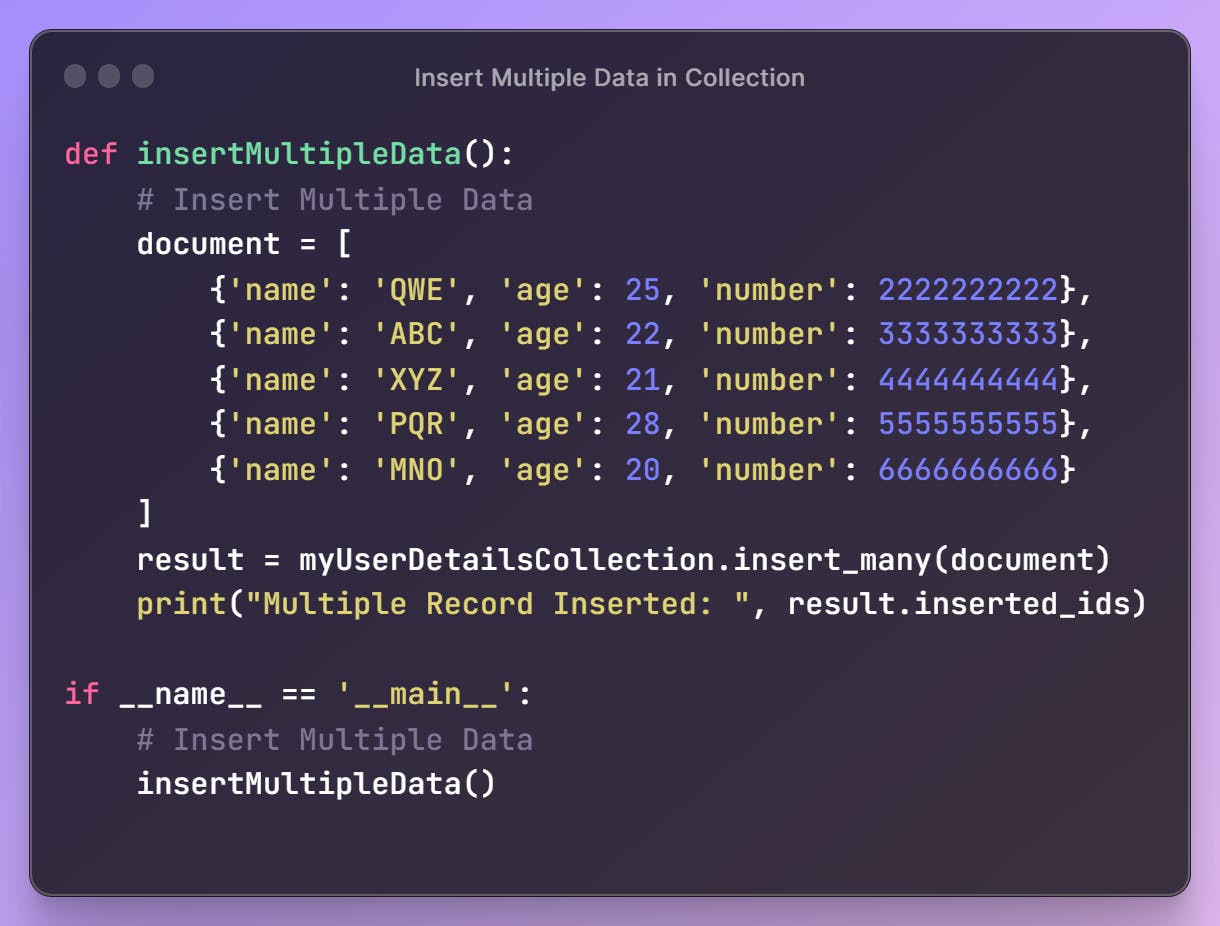
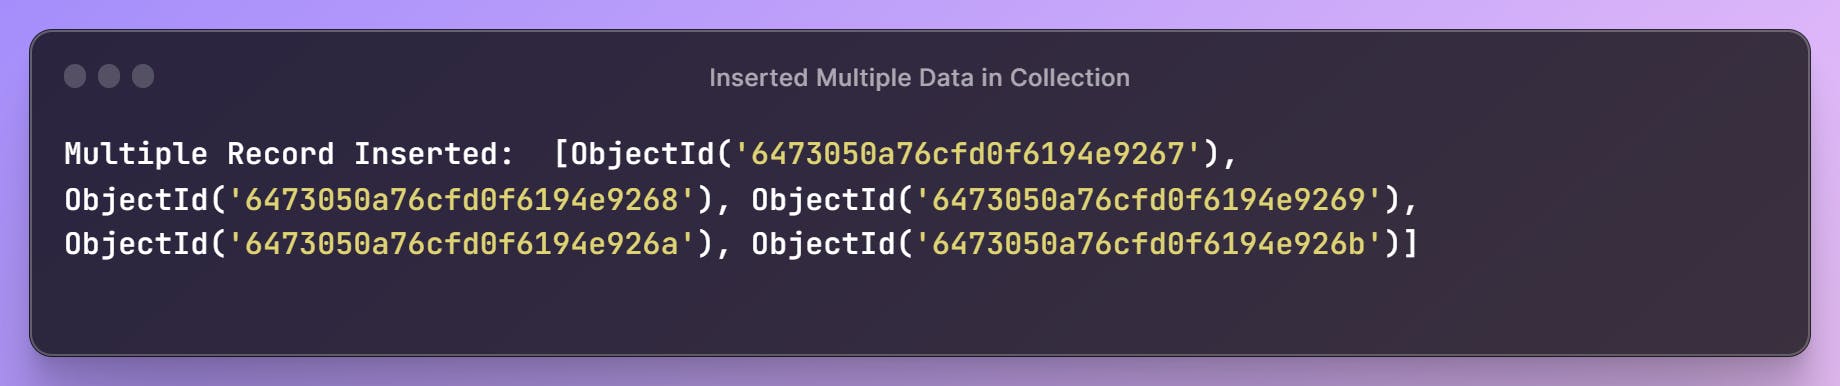
Once, data is successfully inserted, we can see
Now, let's verify in MongoDB Compass,
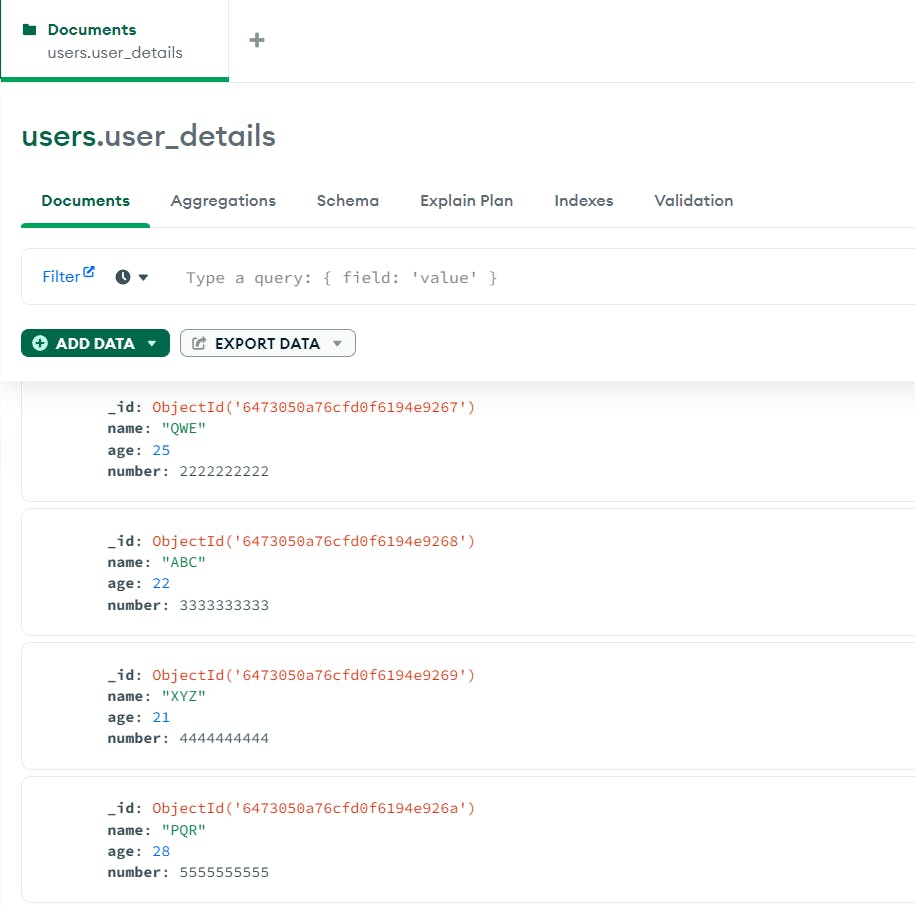
As you can see in the above image,
multiple data are insertedin the database.Querying Single Data
To select data from the collection we can use
find_one()method. Thefind_one()method returns the first occurrence in the selection.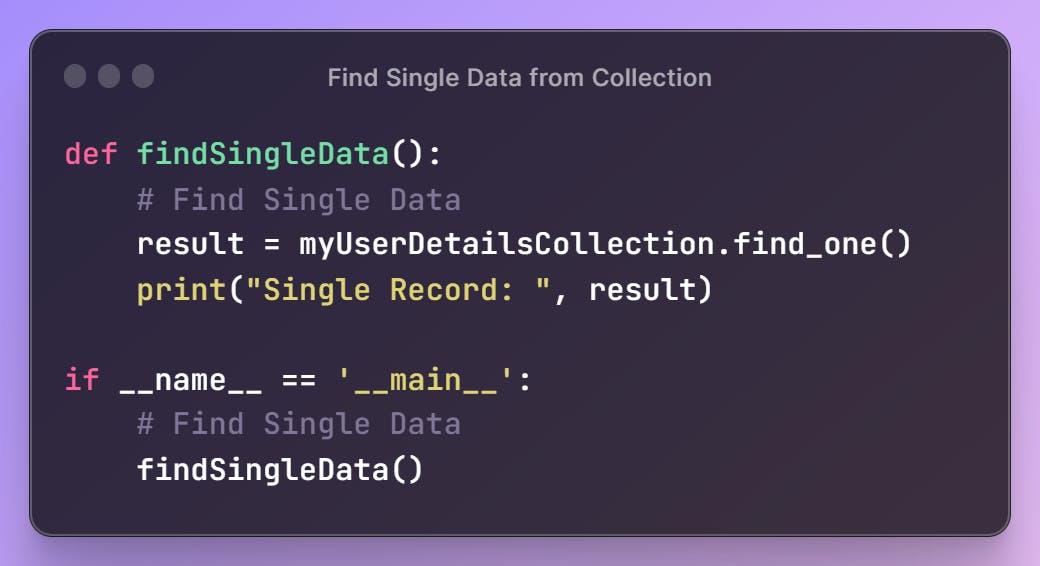
Now, you can see in the console that we have fetched the first occurrence from the selection.

Querying Multiple Data
To select data from the collection we can also use
find()method. This method will return all occurrences in the selection.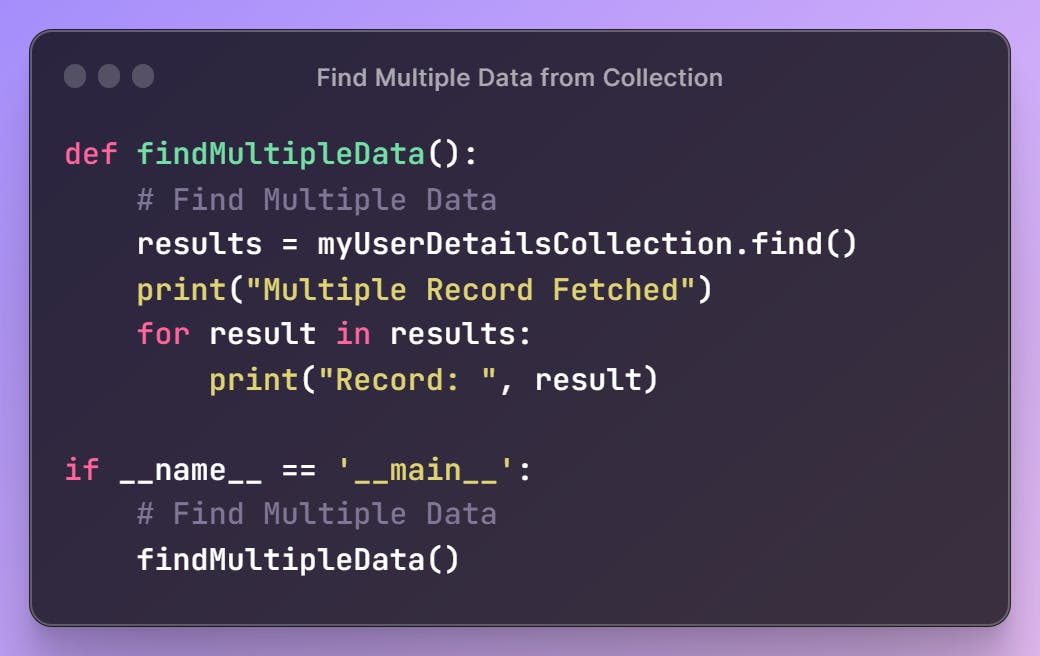
Now, you can see the below response in the console,
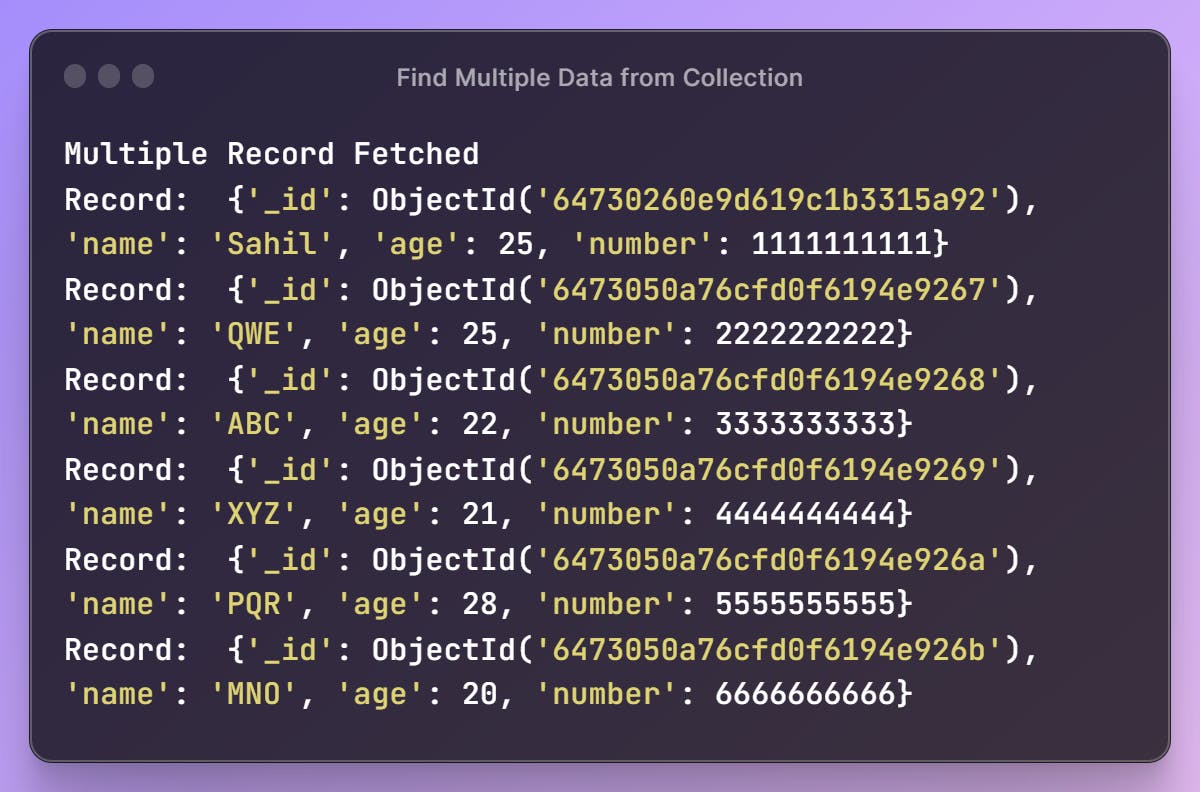
As you can see, we didn't pass any single parameter in
find()method, which means we are going to see the response as aSELECT *in MySql.Update Single Data
To update single data, we can use
update_one()method and to do that we can pass two values as params. The 1st param is against which we need to update data and the 2nd param is which data we need to assign.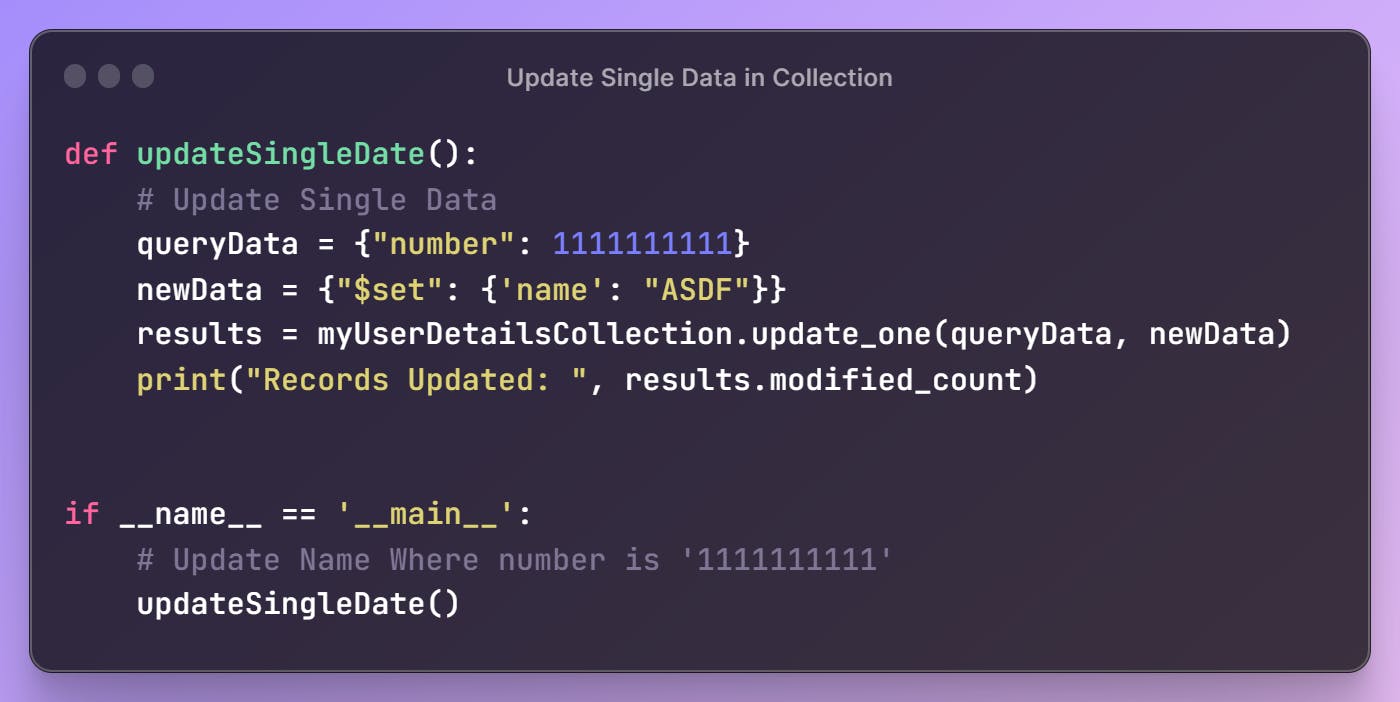
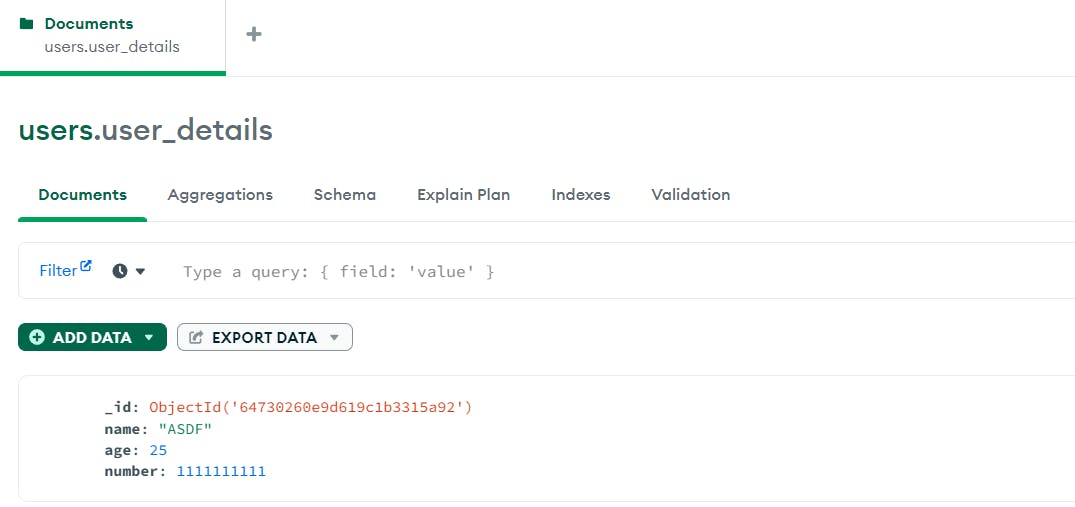
Now, before running this code,
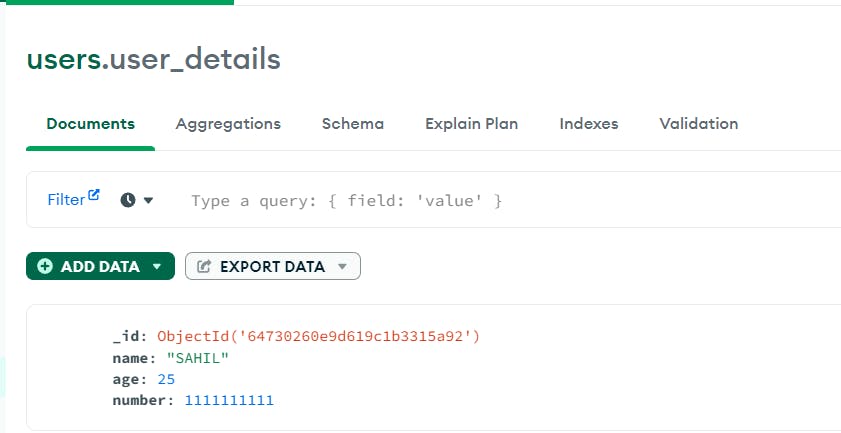
After running this update query,

You can see in the console that a single record is updated and you can also verify this in MongoDB Compass that the user having the number '1111111111' is having updated name.
To update many records at the same time, we can use
update_many()method with specific queries with new data toupdate multiple records.Delete Record
To delete a single record from the collection we can use
delete_one()with a specific query for which we need to delete data.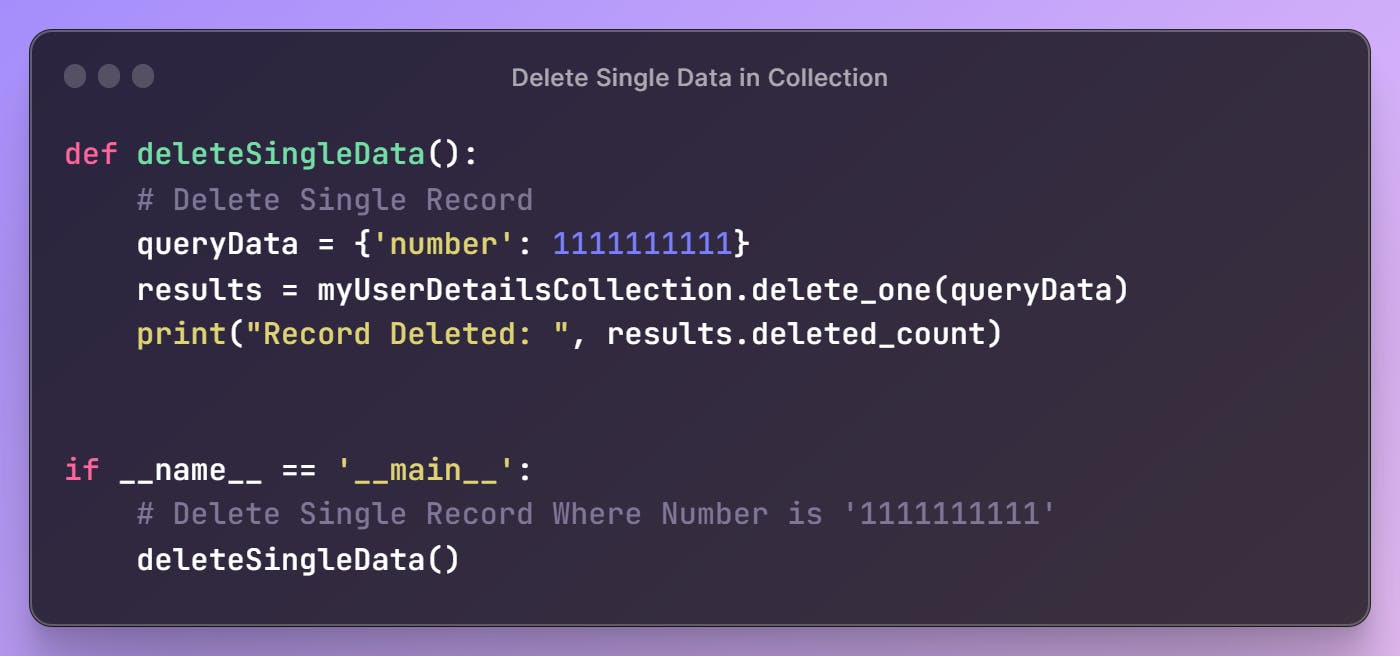
After running this delete query, you can see in the console that a specific
single record is deletedfrom the collection.
To delete many records at the same time, we can use
delete_many()method with specific queries todelete multiple records.Sort the Result
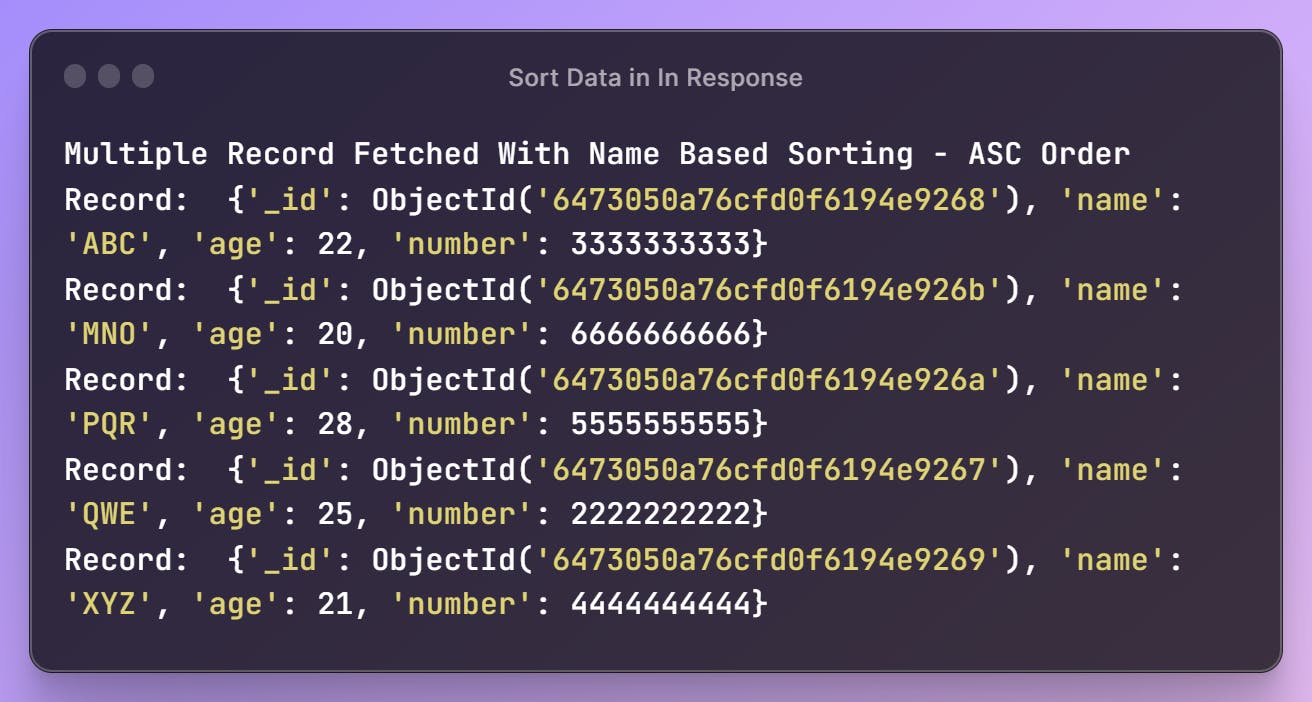
To sort response data from
find()method, we can usesort()method on that response.
Now, you can see in the console that, the response result is in ascending order based on the name.
By default, the ordering of sort() method is ascending and we can make descending order by passing the 2nd param in this method as mentioned below,
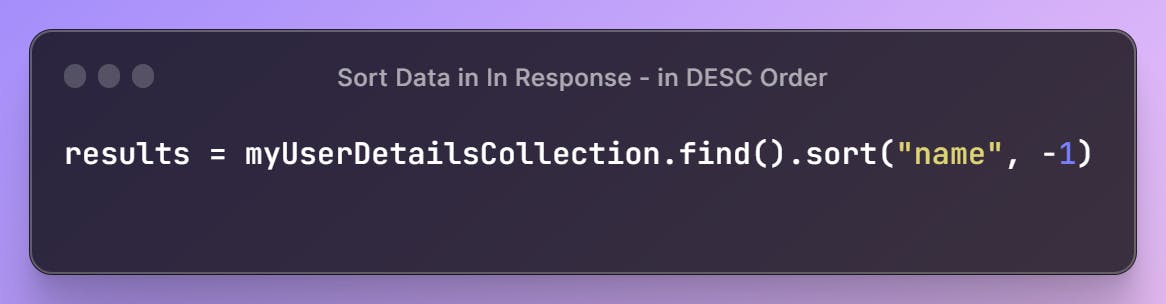
As we have seen, we need to pass two params in
sort()method, 1st one on which param we need to apply sorting logic and in 2nd param, we can pass two values,1 is for ascending orderand-1 is for descending order.Delete/Drop Collection
To delete/drop collection we can use
drop()method, as mentioned below,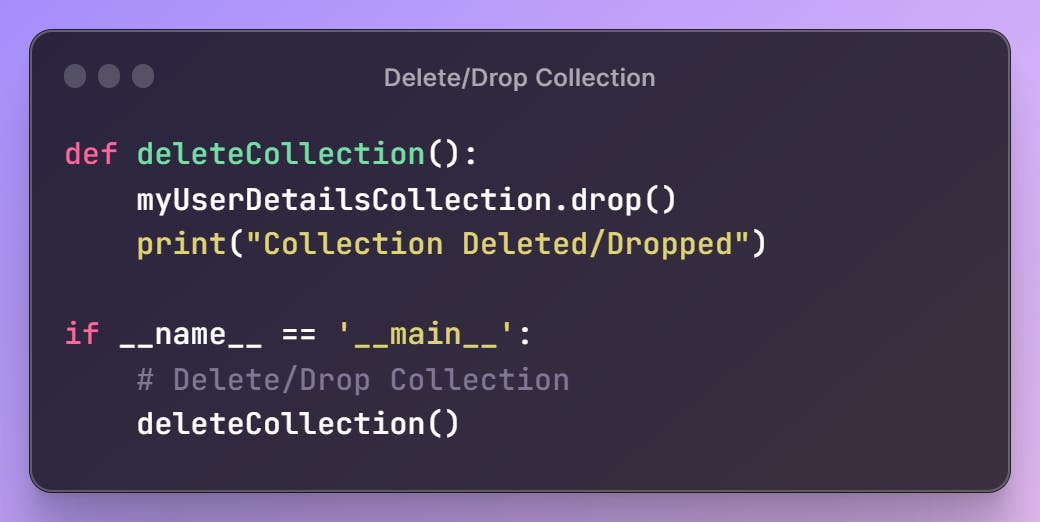
With this method, we can delete/drop collections from the database.
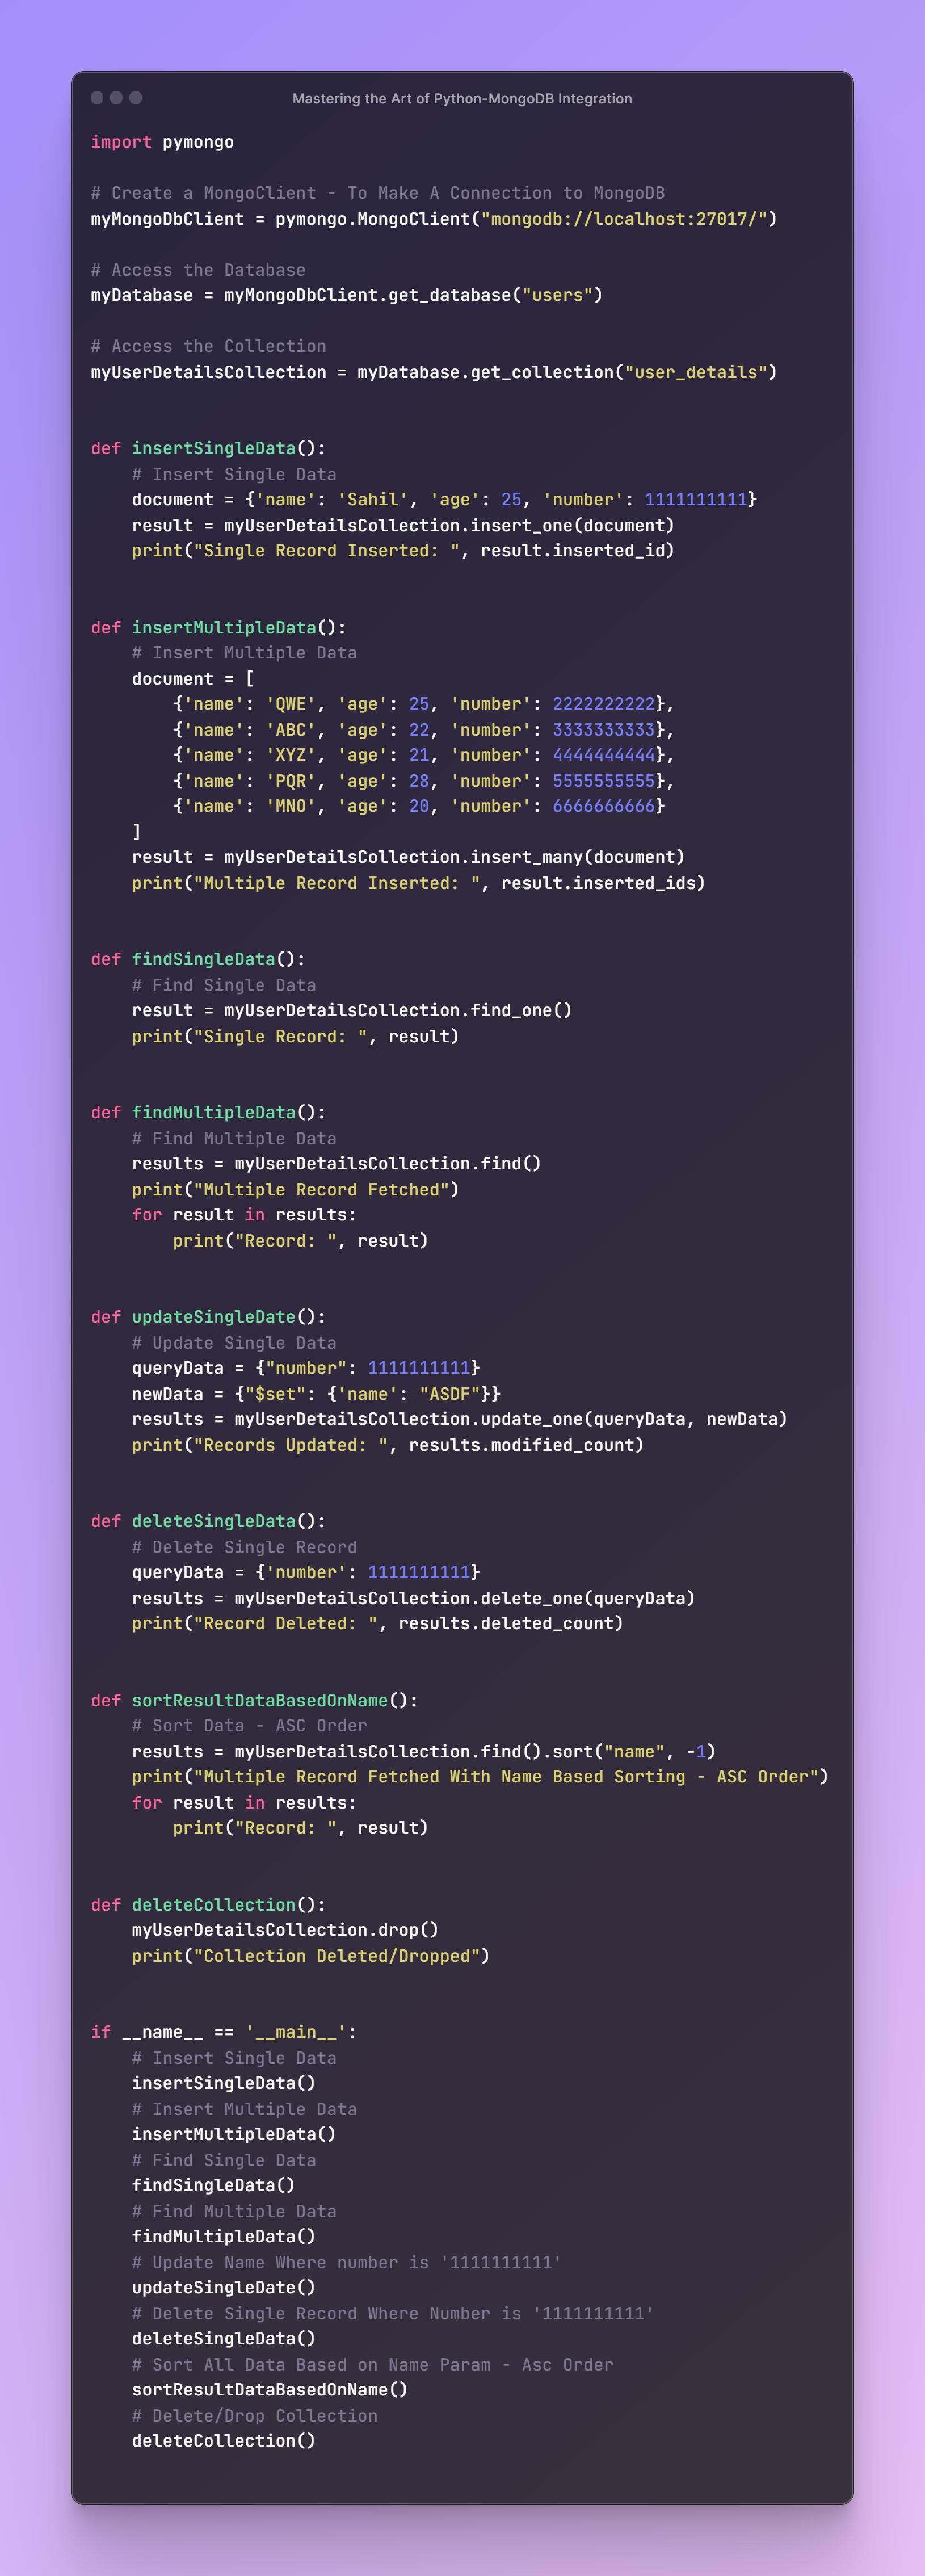
Final Code
After this, all steps of our final Python script are going to look like as mentioned below,
Conclusion
Throughout this blog post, we have covered the essential steps to establish a connection, access databases and collections, and perform common database operations using Python and MongoDB. Remember to install the PyMongo library, create a MongoClient object, access databases and collections, and utilize the available methods for inserting, querying, and updating data.
Happy coding with Python and MongoDB!
Thank you for reading, I hope you found this article useful.
If you enjoyed reading, please consider following me here on Hashnode and also you can reach me on Twitter / GitHub / LinkedIn.